How to Make a Camera Slider
How to Make a Camera Slider

The article describes the design and manufacturing process a slider made from standard parts, purchased at retail. The total costs do not exceed $ 20.
As always, you can see instead of reading boring process of making this a useful tool in a short video report.
Prologue
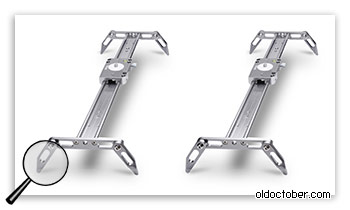
It has long wanted to get a rail slider for revitalization and better watchable movies.
First look ready solutions on Aliexpress, but there price sliders to 1.2 meter starts from $ 160.
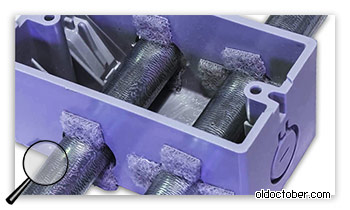
Then I reviewed the internet a lot of homemade, but they either were too shabby, either require a lot of manual work and the specific materials that do not find in our stores..
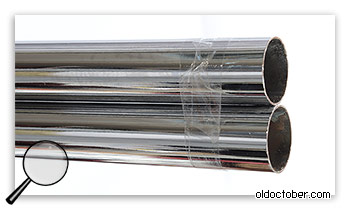
Then I went to the local special stock markets and there in the tent, where they sell furniture accessories, saw a very interesting, steel, chrome tube length 3 meters. The seller said he could on the spot to cut the tube in half. It was exactly what you need to start the project.
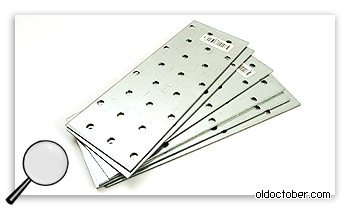
On the same day sketched drawing of the slider, the basis of which I took this same pipe and steel mounting plates that are looked after on the same market in a tent hardware products. Then, when looking for fasteners, I saw the same plate and in DIY stores.
The necessary parts and materials
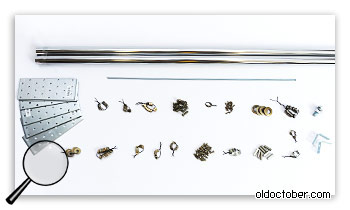
For the manufacture of the slider will need the following parts and fasteners. Fastener really took a lot. But the slider was conceived notable.
Key details
Pipe furniture Ø25x3000mm – 1pc. – $3.75
Plate mounting 160x60mm – 6 pc. – 0,5×6 = $3
The front tie-threaded M4x20mm – 8 pc. – $1.6
Bearing 4x11x4 – 12pc. – $1.8
Bolt 3/4"x25mm – 1pc. – $1.5
Fixing details
Washer M12 – 4+1=5pc.
Nut М6 – 12pc.
Screw М5х16 – 12pc.
Nut М5 – 12шт.
Washer М5 – 24pc.
Spring waesher М5 – 12pc.
Pin М4х1000мм – 1шт.
Screw М4х45 – 2шт.
Screw М4х10 – 16+6=22pc.
Nut М4 – 8+6+6=20pc.
Washer М4 – 16+6+6=28pc.
Spring washer M4 – 16+8+6+2=28pc.
Screw М2,5х10 – 16+4=12pc.
Washer М2,5 – 4pc.
Spreng washer M2,5 – 16+4=20pc.
Expenses
Details – $11,65
Fixture – $5-6
Total: Less than $20
Drawing slider
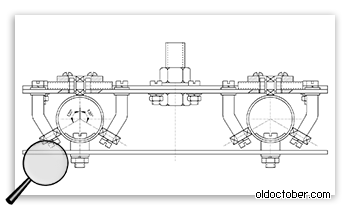
The drawing shows the basic concept of the rail slider. To reduce friction during movement of the carriage, miniature ball bearings were used. They are located at 120 degrees to each other, and securely hold the carriage rail at any position. All other drawings required for the completion of parts and assembly of the slider are in “Advanced Materials”.
Completion and production of racks that hold the bearings
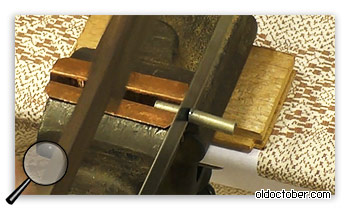
I have not had the patience to wait for the arrival of the finished racks from China, and I produced their own steel rod with a diameter of 6mm.
First, sawed bars on the workpiece with a margin of about 1 mm to be processed.
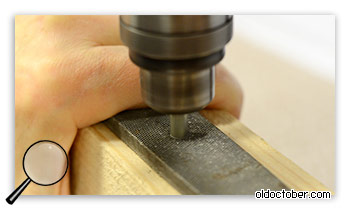
Then he made a parting and chamfering using the coarse and fine file.
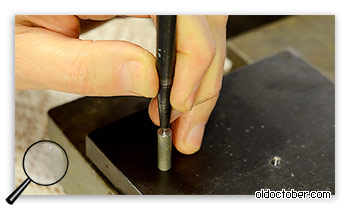
Stake the center of each side of the workpiece.
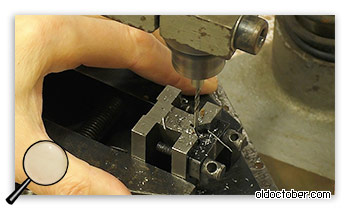
Drill through hole in two stages, drills Ø2…3 and Ø3,3mm.
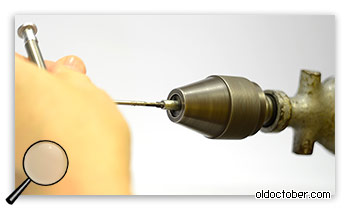
Note that the full face cut in steel thread to a depth of 20mm – a rather difficult task, even with the presence of a tap wrench. Simplify it can be either slicing a thread only to a depth of 5-6 mm on each side, or to ream the hole Ø3,4 and Ø3,5mm even under the “Chinese” thread. ![]()
Production of press brake
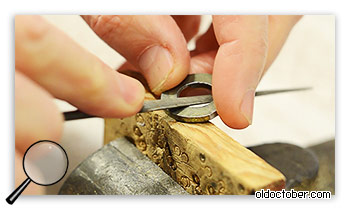
For bending threaded racks M4h20mm from M12 washers matrix was produced by cutting angled slots.

And for slots hexagonal pillars should be flat.

A cylindrical, respectively – cylindrical.

To fix the rack on the matrix, with each side of the rack has been screwed on the screw and washer.
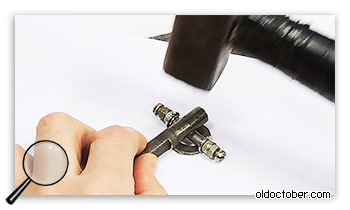
As punch was applied rod Ø10mm, but instead press – a massive hammer.

Here is the result of bending cylindrical rack.

Brass Rack better to stick with a press, so as not to break. I used to be a bench screw press.
Making the upper bearing mount assemblies
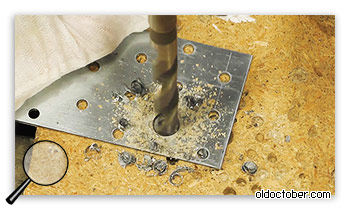
To set the upper (in the drawing) bearing in the mounting plate was drilled four holes up to 12.5mm diameter.

Better for this use a drill with sharpening tsefenbor (tsapfenbor), whose central part has a diameter of 5mm.
In the absence of such diameter drill holes you can cut it out round file.
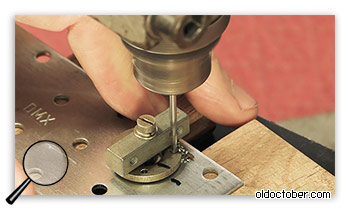
When finalizing the M12 washers, each was drilled four holes Ø2,1mm.
Then, the same washer M12 were used as conductors in coaxial Ø2,1mm for drilling holes in the mounting plates. Washers recorded two steel plates, strapped bolts. Thus, each washer has been marked so that the assembly could align its holes with the very holes that have been drilled through it.
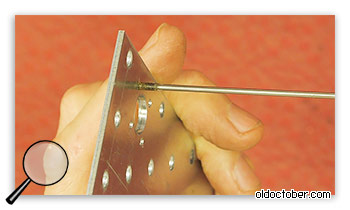
In consequence, in the plates were tapped M2,5.
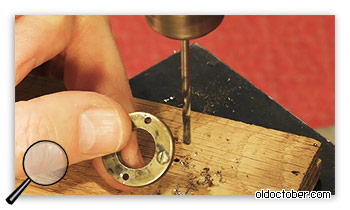
Holes in Ø2,1mm washers M12 were drilled to a Ø2,6mm to M2,5 mounting screws.
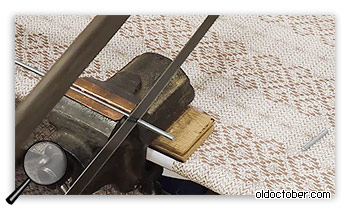
Four studs at 34mm were cut off each for fixing the upper bearing.
Making shaped screws for fastening pipes
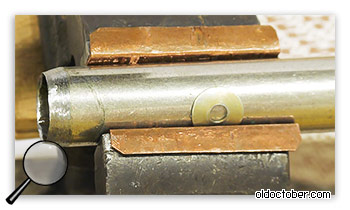
To protect the pipes from deforming and simplifying the assembly process, the screws were fabricated shapes. First M5 washers were bent on a cylinder with a diameter of 25mm.
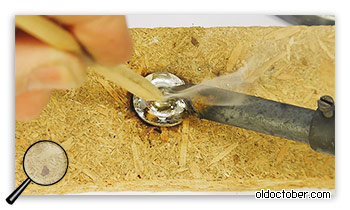
And then for these washers using active flux and tin-lead solder was soldered M5h16 screws.
Making shaped sleeves
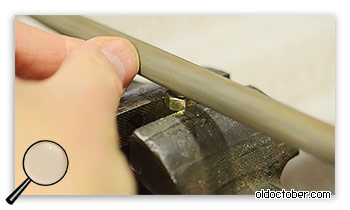
Shaped as sleeves, tubes and extending between the mounting plates, M6 nuts have been used, in which propylene was first cylindrical groove.
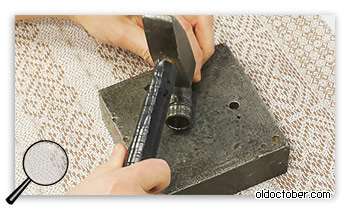
And then this slot has been finalized with a steel cylinder with a diameter of 25mm and a large hammer.
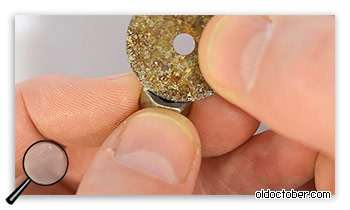
The form of the resulting surface was monitored on the end face washers Ø25mm.
Drilling holes in the pipes
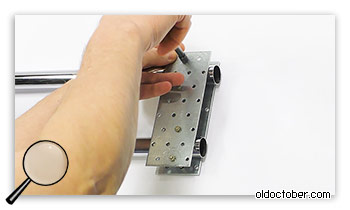
Before drilling, were tested perpendicular mating parts.
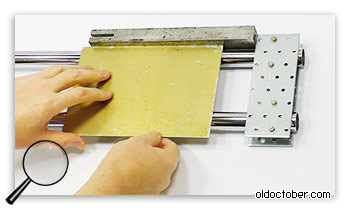
Before drilling, were tested perpendicular mating parts.
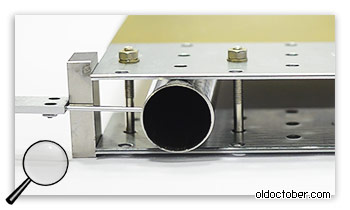
As well as the position of the conductor with respect to the pipe.
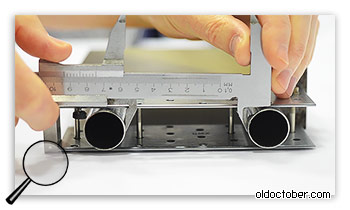
And the distance between the pipes.
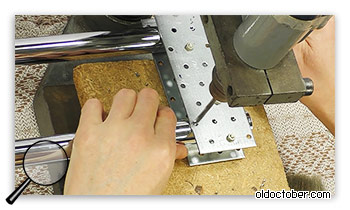
And only after that the pipes were drilled.
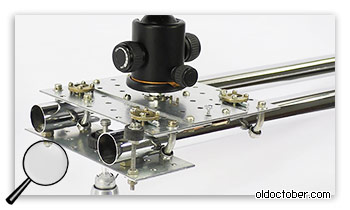
When all assembly units were ready, it remains only to collect a slider, according to the drawing. The assembly process is better to see in the video, which is located at the beginning of the article.
Brakes for rail slider
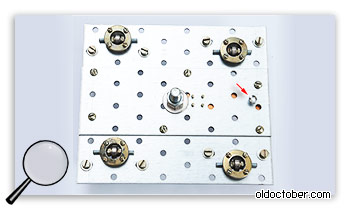
Progress slider carriage is so light that the slider can be used as a spirit level. Therefore, for the fixation of the carriage during transport and installation of the slider, a brake is required.
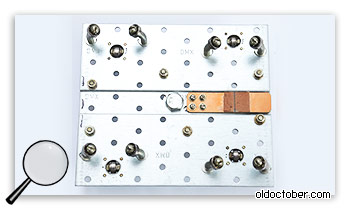
Brake unit consists of only three parts: a plate of fiberglass, brake pads made of genuine leather and the clamping screw M2,5.
Feets slider
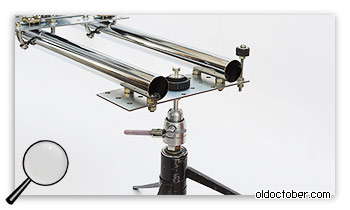
As is known, large set rail sliders with two racks. And although I drilled at each site reference slider over the hole for the photo-screws 1/4″, two tripods I had not. Therefore, the question of the legs to the slider is open.
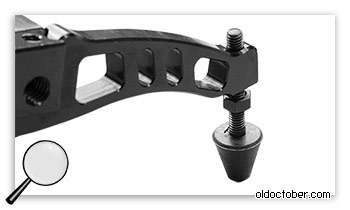
Screw the legs, which are usually equipped with factory sliders, I just did not like. Spin the multi-screws are not wanted, and simple design, I did not come up on the basis of finished parts.
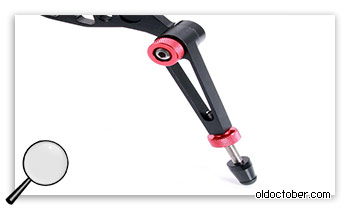
Up-arm leg thing and does not come as a simple and more comprehensive solution was found. But first a little digression.
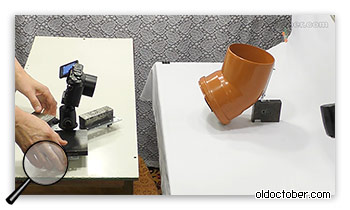
During assembly of the rail slider, I decided to shoot a few action scenes, which again needed a slider, which has not happened. So I hastily gathered from the second slider has acquired parts of the first. Read more about this slider, which can be assembled in 15 minutes, spending just $ 5, read or look here >>>
Then it was found out that in order to install the slider can quite amiss a pair of ordinary wooden chairs.
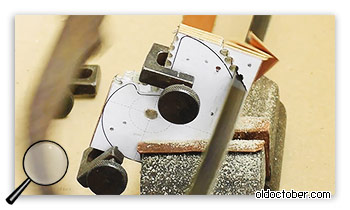
Actually, these chairs and determine the final design of the legs, whose role has been assigned to the four eccentric cut from fiberglass.
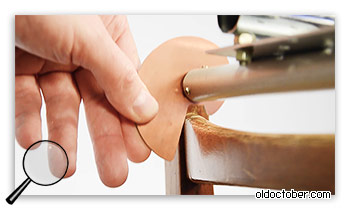
This form allows the cam lock slider on the chair.
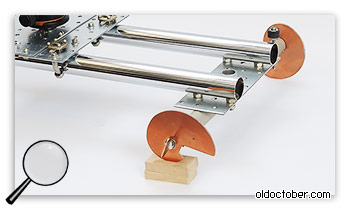
If you want to install the slider on an uneven surface or to adjust the tilt of the spontaneous movement, enough to turn the cam to the desired angle and lock its position with the screw.
Small details
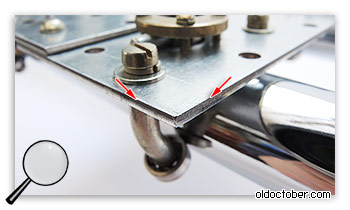
Mounting plates obtained by stamping, have very sharp edges which can injure yourself if you try to stop the move to disperse the carriage. Therefore, follow the brake to release only during video shooting.
I did not blunt the sharp edges so as not to damage the plating. But if you are going to paint the details of the slider, it is better to pre-round all sharp edges of the mounting plate.
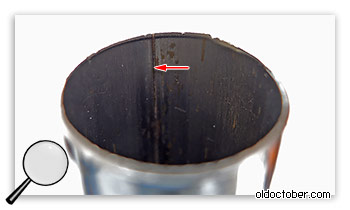
Furniture pipe, which I used as the rails are in a pronounced weld seam. On the outer side of the pipe in the area of the seam, using tactile sensations can detect small irregularities. Therefore, prior to attaching the pipe to the base, you need to ensure that these irregularities will not fall into the trajectory of ball movement.

To find the bearing to Aliexpess enter into the search box bearings, and then in the search box on the results 4x11x4 ( «x» – English letter X).

Better suited for bending steel sleeve with a through hole. To bend the blind sleeve, they will have to pre-drill.
Find the threaded bushing on our sites may be on keyvodrdam: coupling nut, sleeve nut, sleeve coupling, plate furniture, etc.
On Chinese websites: coupling nuts, threaded spacers, longer hex nut, M4x20, etc.
Additional materials
Download drawings rail slider, designed for shooting a movie (164kb).
Related topics

How to make a speaker with your own hands? |

How to Make a Compact Camera Slider for $5 |

Portable tripod head for half an hour with your own hands |


BUENOS DIAS
QUIERO FELICITARLO POR ESTE GRAN TRABAJO DEL SLIDER, EXCELENTE PARA NOSOTROS LOS ESTUDIANTES DE MEDIOS AUDIOVISUALES Y QUE HAST AHORA ESTAMOS EMPEZANDO, Y NO TENEMOS PRESUPUESTO PARA UNO NUEVO.
GRACIAS UN CORDIAL SALUDO